365ofpinterest


Leave a comment

4th of July Strawberries

First time doing this!


Supplies Needed:


Strawberries – the pointier the better!

Lollipop Sticks

White chocolate

Blue Sprinkles

_WWP3615-Edit

INSTRUCTIONS:


Melt your chocolate the way you want.  I used my melting pot.

_WWP3619-Edit

Put aside a bowl of blue sprinkles.

_WWP3621-Edit

While the chocolate is melting, put lollipop sticks in the tops of the strawberries (where the green stuff is).

_WWP3617-Edit_WWP3647-Edit

When the chocolate is done melting, dip each strawberry three quarters of the way in the white chocolate.  You might need a spoon to cover the missed spots.

_WWP3622-Edit_WWP3626-Edit

Let it cool down a LITTLE, but NOT completely and then dip it a little bit in the blue sprinkles.

_WWP3624-Edit _WWP3627-Edit _WWP3628-Edit

Repeat for each strawberry.


_WWP3636-Edit _WWP3632-Edit-Edit


Leave a comment

Sugar Cookie Lemon Tarts

SUGAR COOKIE LEMON TARTS

I made these for my daughters teacher for teacher appreciation week.

Supplies Needed:

Butter
Sugar
3 eggs
3 egg yolks
flour
salt
baking powder
whipping cream
1 large lemon
powdered sugar (optional)
Mixer
Parchment paper
Mini muffin tin
Cooking spray

INSTRUCTIONS:


Mix 8 tablespoons of butter and 1/2 cup of sugar in the mixer.  Add in 1 egg until fully mixed.  Add 1/4 teaspoon of baking powder, 1 1/2 cups of flour, and a pinch of salt.  Mix until there are no clumps of flour left.  Wrap the dough in parchment (or wax) paper and put in freezer for 15 – 20 minutes.
WWP-1
Preheat the oven to 350 degrees.  Grease the mini muffin pan with cooking spray.
In a medium sized bowl, whisk together 2 eggs, 3 egg yolks, 1/4 cup whipping cream, juice from the lemon, and 1/4 cup sugar until smooth.  This is going to be your lemon filling.
By this time, the dough should be ready.  Make little balls and put them into each slot in the muffin pan.
WWP-2WWP-7
I used a tool from pampered chef to make them into cups, but you can use your thumb or fingers.
WWP-3
If you are using the same tool as me, I lightly coated it in flour before each time so it would not get stuck to the dough.  Make sure the dough is even on all sides.
WWP-4WWP-8
When they are all done, carefully fill them with the lemon filling, just about to the top of the cookie crust.
WWP-5WWP-9WWP-6
Bake for about 10 to 12 minutes or until the crust begins to turn golden.  Let them cool completely.  Refrigerate before serving, serve chilled.

Optional topping:
Just sprinkle with powdered sugar before serving.
WWP-10

WWP-11


Leave a comment

Easy Peazy Cake Pops

Supplies Needed:

Wilton chocolate disks (I used these because they work best in my melter)

Lollipop sticks

Box of Cake Mix

Can of frosting

_WWP5982-Edit

INSTRUCTIONS:

Start by baking your cake as directed on the box.  When it is done baking, let it cool completely.  Break up the cake and crumb into a large bowl.  You might want to cut off the edges if they are hard.  When you crumble the cake, make sure the crumbs are FINE!  Or else your cake pops will be lumpy.

2

Next, add in 1/2 can of frosting and mix.  If it is not sticking together, add just a little bit more, but not the whole can or the cake balls will slide off the lollipop sticks.

3


Now it is time to get a lil messy!  Make round balls out of the mix.  When done, put them in the refrigerator for about an hour to chill.

4

While the cake balls are chilling, start melting your chocolate, and remember to stir!

_WWP5998-Edit

After an hour, pull your cake balls out of the fridge two at a time (so they don’t get warm).  Stick a lollipop stick in the chocolate and stick it half way into the cake pop.  Wait about 30 seconds and dip your cake pop half way in the chocolate.  Use a spoon to coat the missed spots and the chocolate drip off.

5


Decorate as you wish before the chocolate hardens!  Refrigerate for 10 minutes and they are ready to be eaten!


6


1 Comment

Marshmallow Crosses for Baptism

These were another favor we used for our twins baptism.


Supplies Needed:

Bags of marshmallows (Depends on how many crosses you want to make)

Skewers

Sprinkles

Treat Bags

Ribbon


INSTRUCTIONS:

Take 4 marshmallows and place on a skewer.  You will need to cut some skewers smaller and carefully for the crossbars.  Place a crossbar thru the second marshmallow and place a marshmallow on each side.  Using a brush, or your hand, or a paper towel, put water all over the fronts of the marshmallows.  Sprinkle your decorations and tap off excess.

1

_WWP5545

Bag and tie.


_WWP5681


Leave a comment

7 Layer Rainbow Cake

Oh boy…was this a challenge!  Sorry for the crappy iphone pics, I didn’t have my camera!  Next time I make this (if I make it again!), I will take good pics!  My friend Shawnel and I had a baking day and made all kinds of stuff…oh, and made a mess in the meantime!  But it was so much fun!

Supplies Needed:

7 Boxes of white cake mix

5 cans of frosting

food coloring

eggs

8″ Round Cake pans


DIRECTIONS:

Depending on how many cake pans and bowls you have, mix the cake mix according to the directions.  Add food coloring of your choice to all 7 of the batters.  Bake all the cakes and let cool.  When cool, start by placing one cake onto a plate or what ever surface you will be using.  Before placing the next cake, add a layer of frosting.  Do this until all the layers are stacked on top of each other.

IMG_0872


Frost the entire cake.

IMG_0873

Cut and serve!

IMG_0874


Leave a comment

Chewy Caramel Brownies

Ingredients:


2 sticks butter

12 ounces semi-sweet chocolate, coarsely chopped (I used a food chopper)

1 ½ cups sugar

4 eggs

1 tablespoon vanilla

1 ¼ flour

½ teaspoon salt

1 cup chocolate chips

3 5.5oz packages Werther’s chewy Caramel chews

¼ cup heavy whipping cream


DIRECTIONS:

Preheat the oven to 350˚ F. Line a 9×13-inch baking pan with foil and grease the foil well with cooking spray.

WWP-1

In a large, microwave-safe bowl, combine the chopped chocolate and butter. Microwave in intervals of 1 minute at 50% power until the chocolate is melted and the mixture is smooth, stirring in between intervals. It took me 3 and a half minutes total.

WWP-2 WWP-3WWP-4

WWP-5 WWP-6

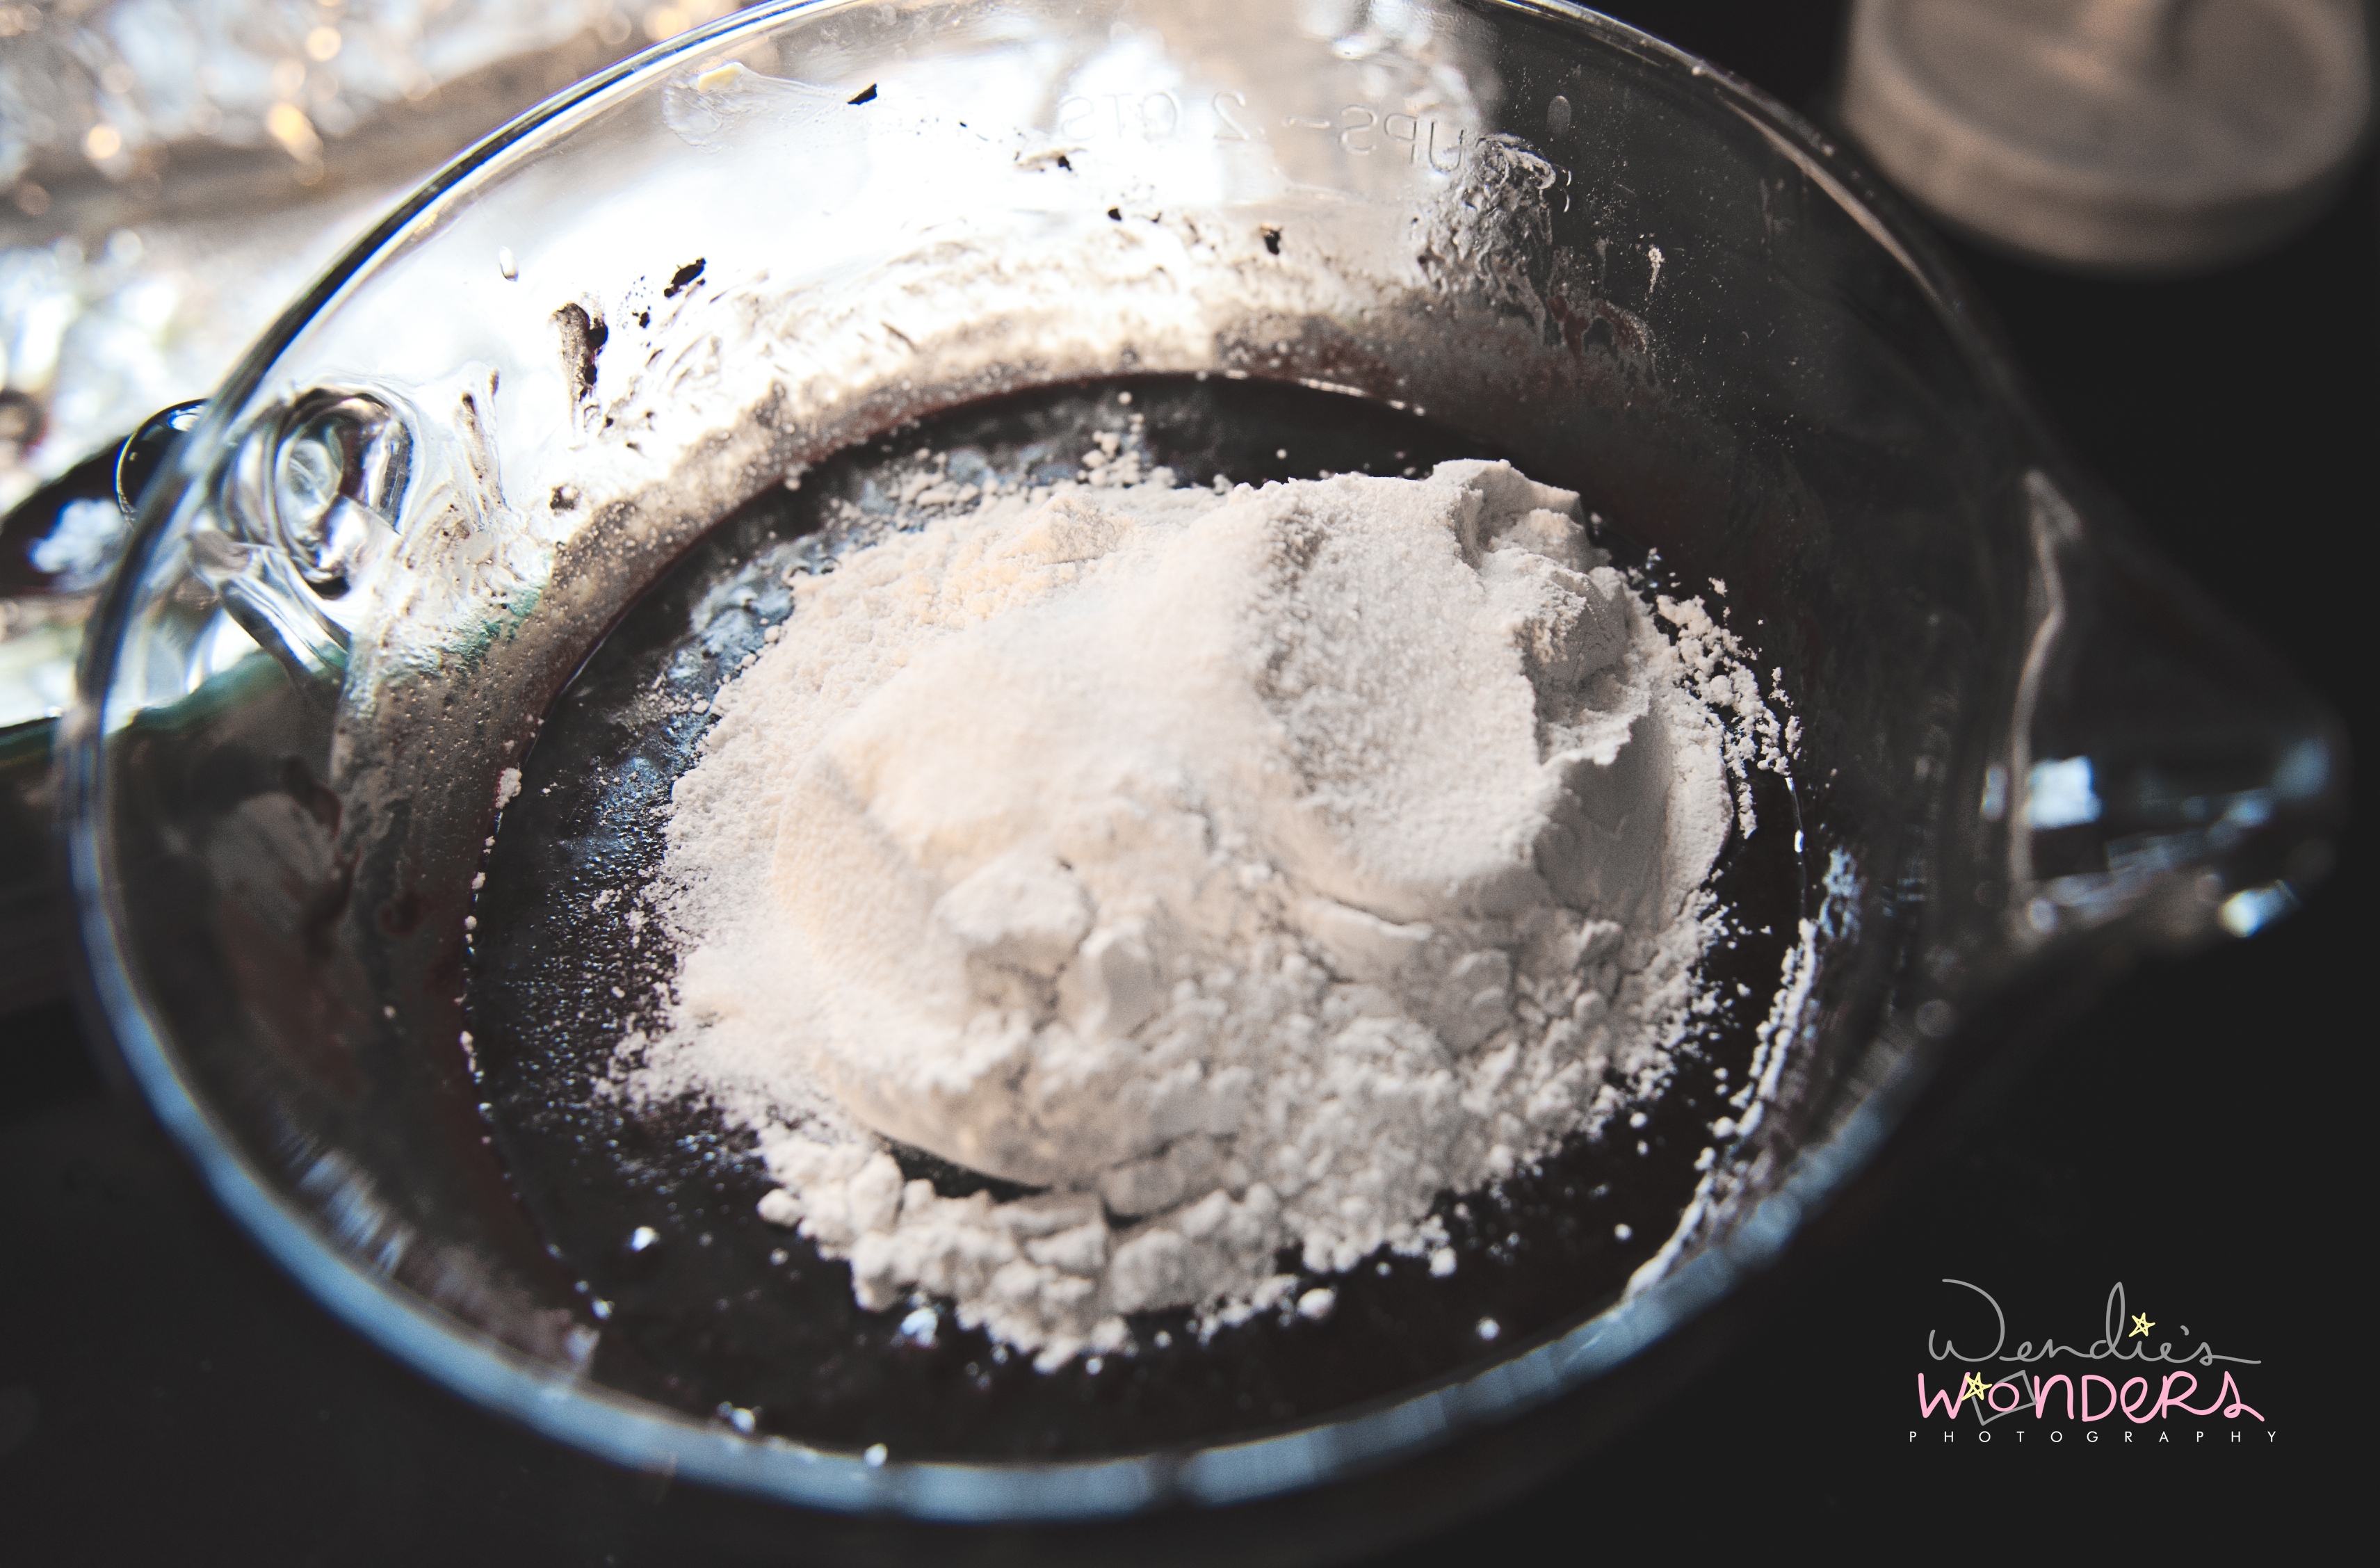
Whisk in the sugar, eggs and vanilla until incorporated. Stir in the flour and salt just until combined.

WWP-7 WWP-8

Spread about HALF of the brownie batter in the bottom of the prepared pan in an even layer.  Bake for 18 minutes.

WWP-9

Remove from the oven (keep the oven on!) and let the brownies cool while you make the caramel layer.


To make the caramel filling, combine the caramels and cream in a medium microwave-safe bowl. Microwave for 30 seconds at 50% power. Stir at every interval. It will look like it is messy and not working, but it will work! Continue the microwave process until the caramels and cream are melted and combined. This took 5 and a half minutes total for me.

WWP-101815

Immediately spread the caramel mixture over the brownie layer you just baked.

WWP-11

Pour the remaining brownie batter over the caramel layer and spread it evenly across the caramel.

WWP-12

Sprinkle the chocolate chips on top of the final brownie layer.

WWP-13

Bake for 20 minutes.

WWP-14

Let cool completely and refrigerate for a few hour before slicing and serving. The brownies sliced easier and tasted soooo good when cold. Lift the brownies from the pan using the edges of the foil. Remove the foil and cut the brownies into individual squares. Store in an airtight container.


WWP-1